The ‘ WILDCARD ‘ Gro-Bot Organeec 1

Found myself looking for a new Readymade Art project, and came across this, TED talk, by Caleb Harper, http://www.ted.com/talks/caleb_harper_this_computer_will_grow_your_food_in_the_future.

Just what was needed, but having checked through the OPEN AGriculture site, http://openag.media.mit.edu/ , Forum, Wiki and Blog it was obvious an insulated box was required.

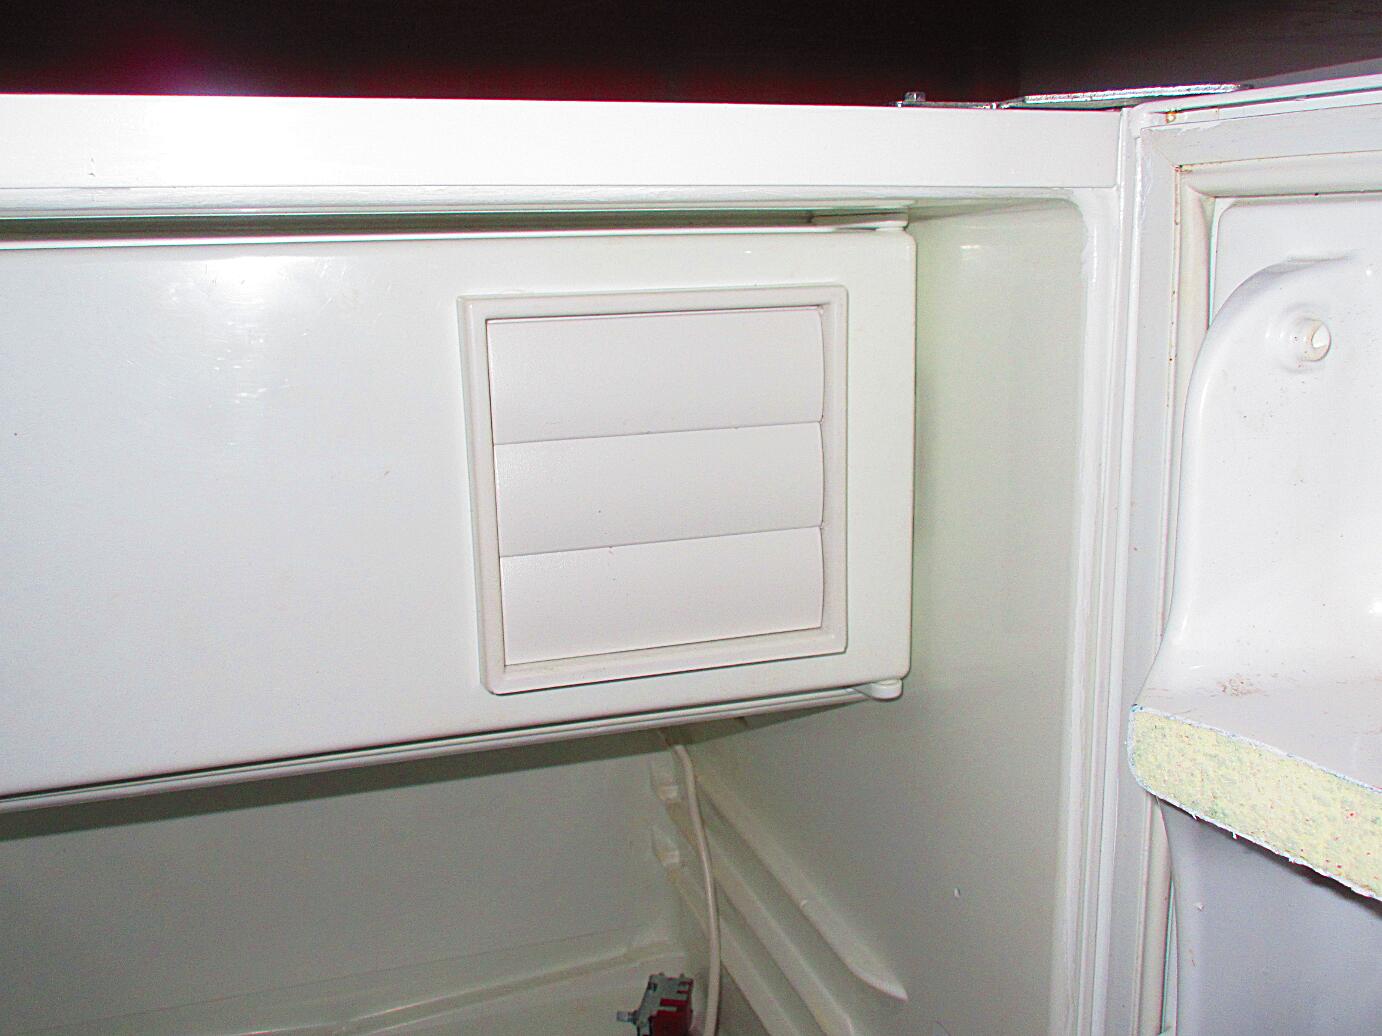
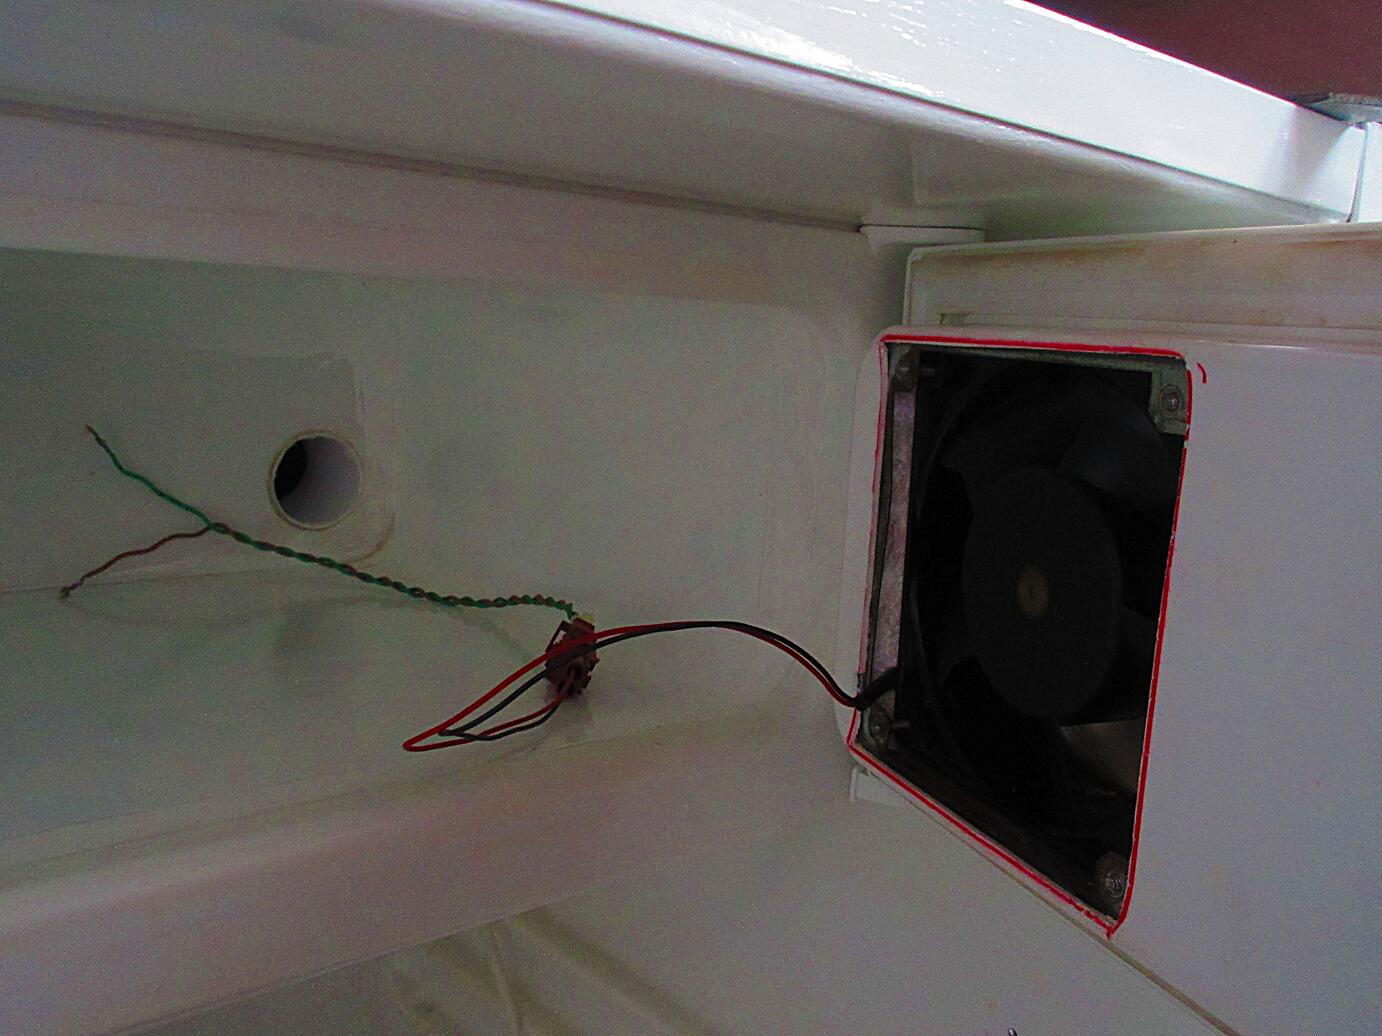
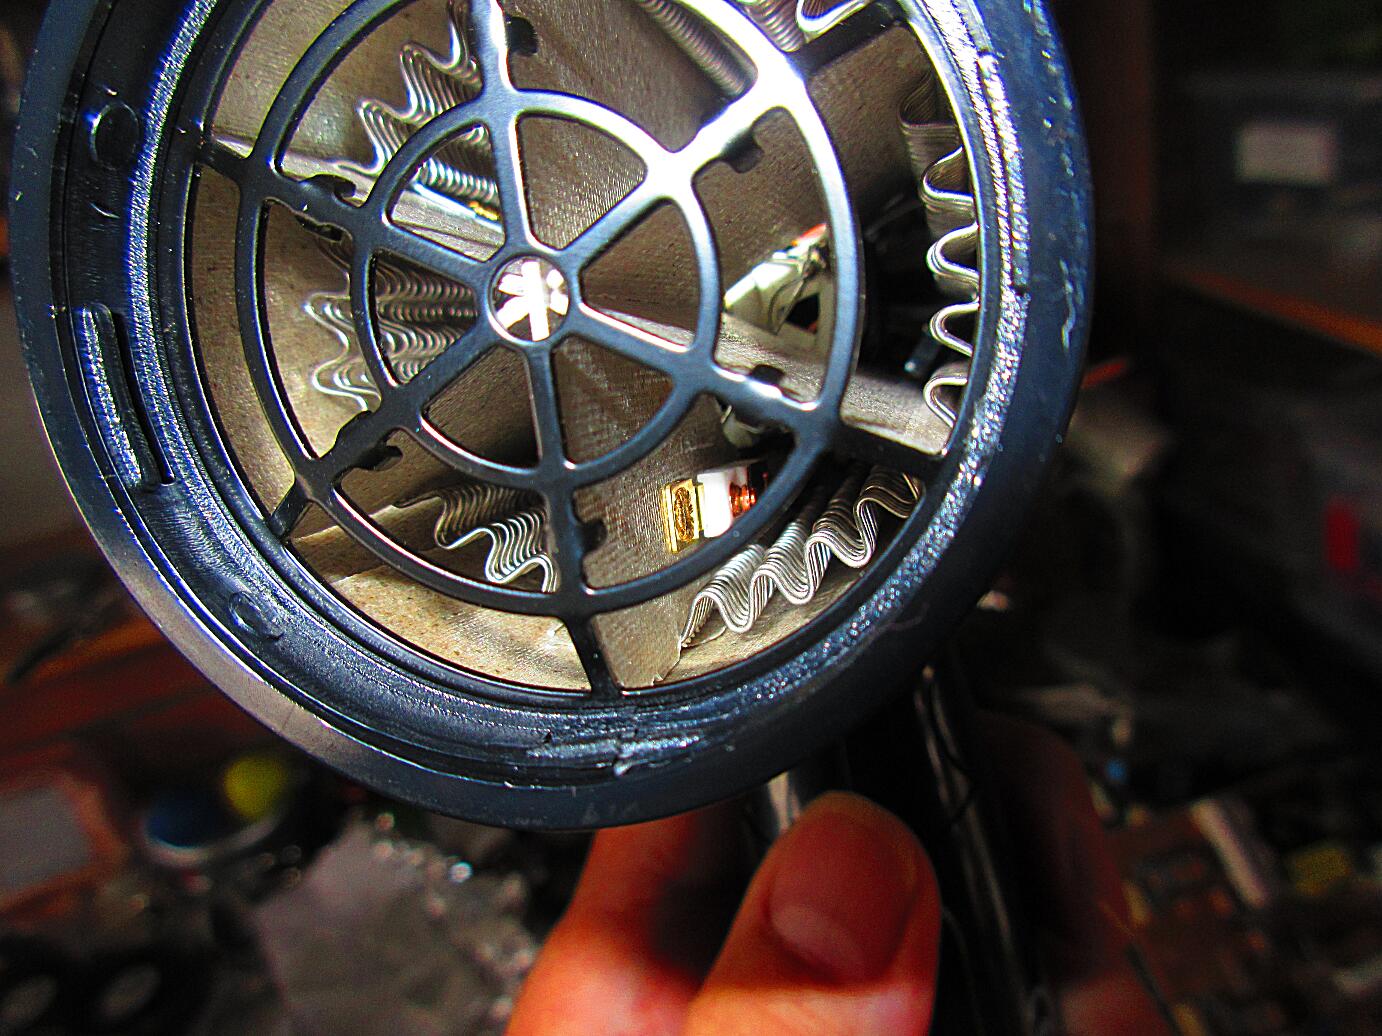
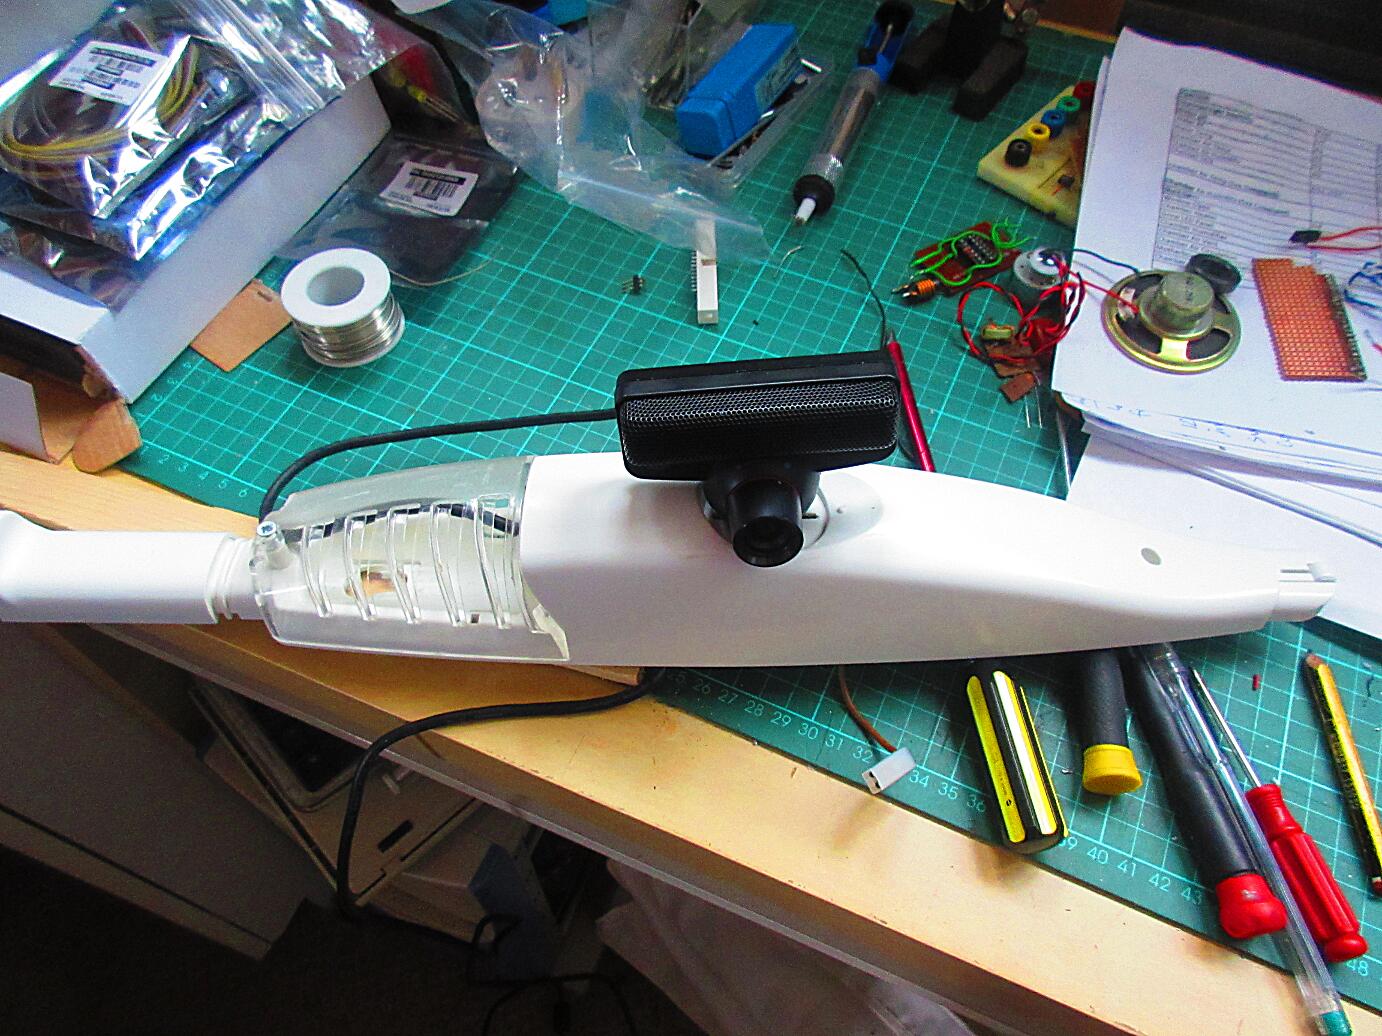
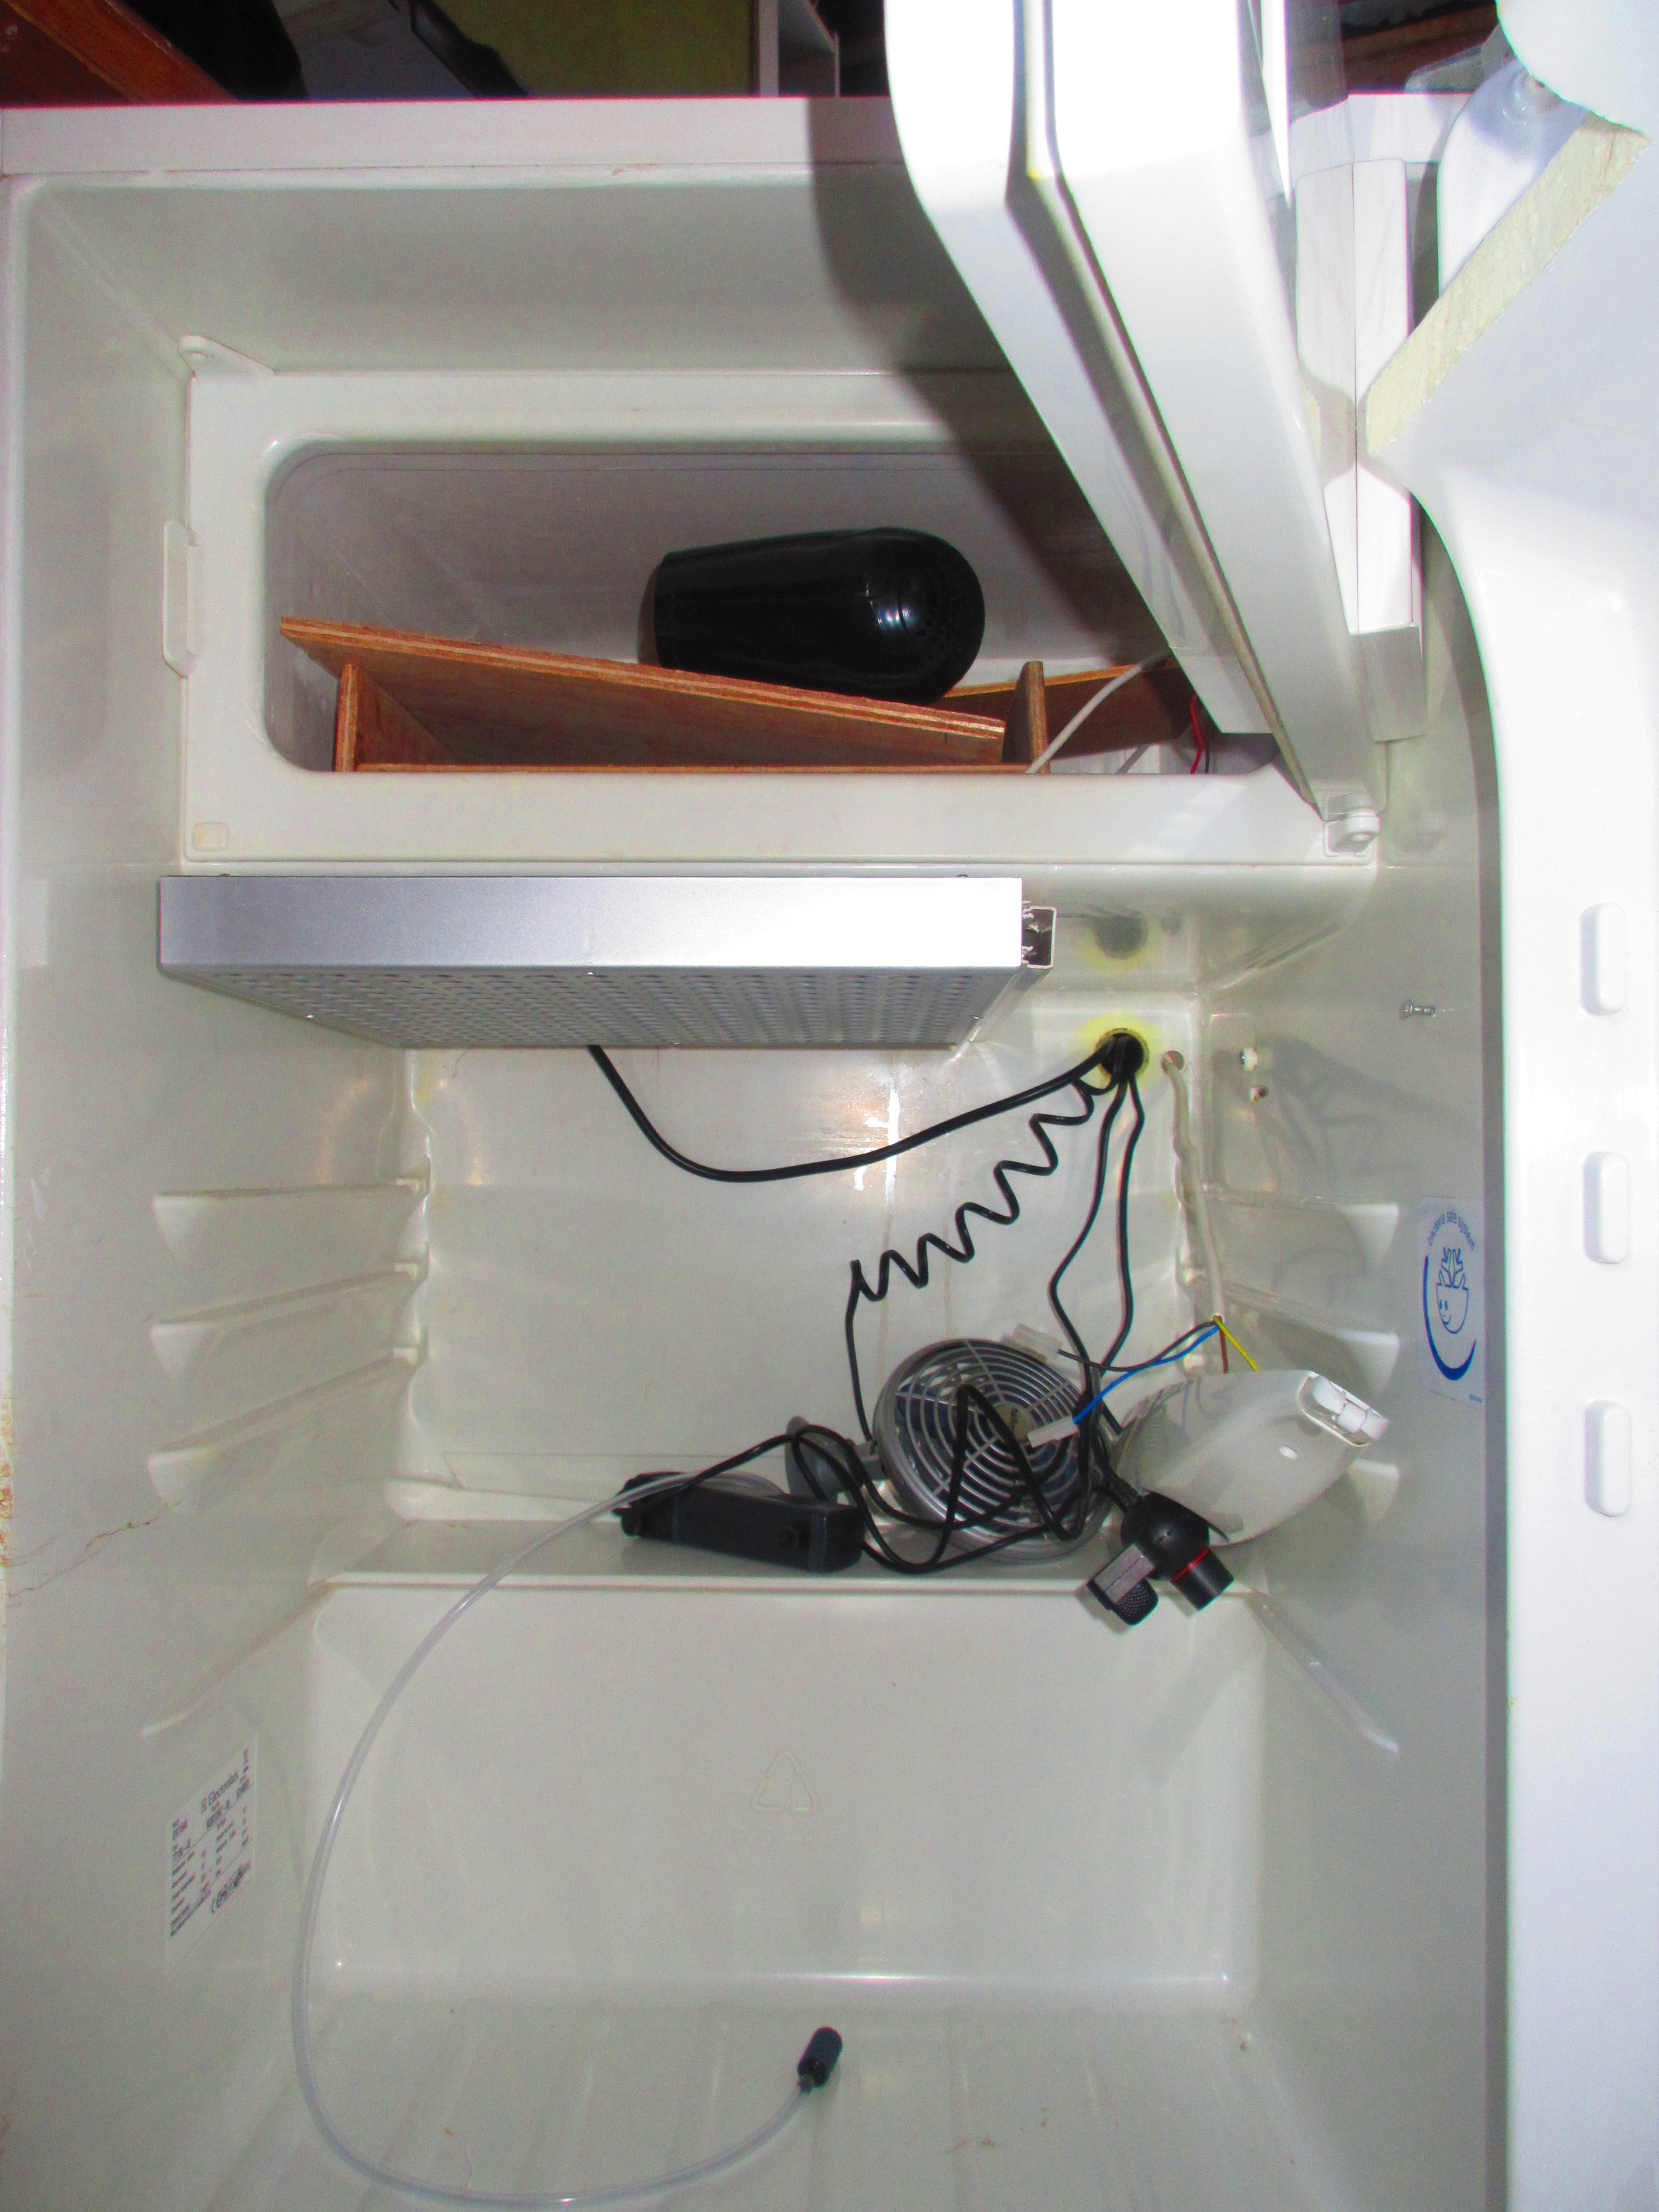
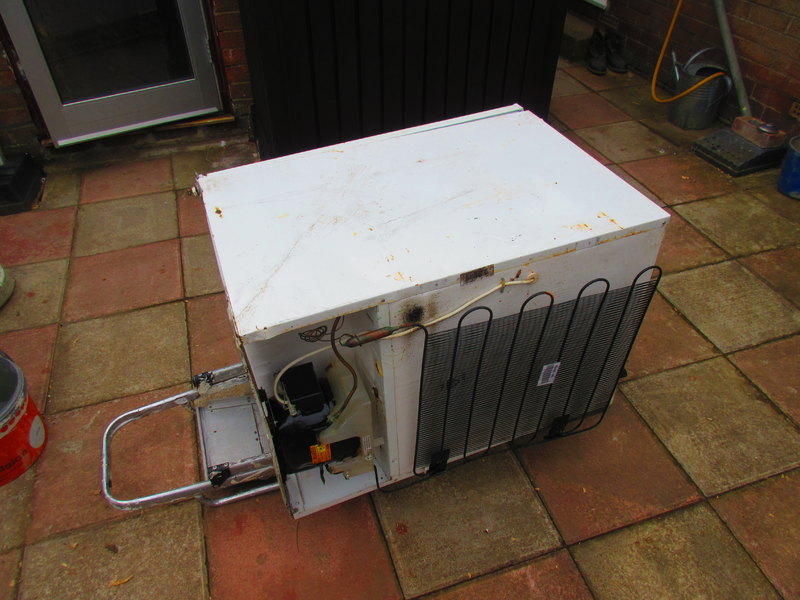
Which mass produced insulated box came to mind ? Yes, A Fridge. Just bought a new one and the old one went so no fridge!! to work on. Tried the local fridge seller but was told I would have to wait until one came in. As luck would have it, driving the country lane route back home, there appeared around a bend, in a passing place, the fridge you see here, so it was rescued to be resurrected as a Open AGriculture Personal Food Computer.

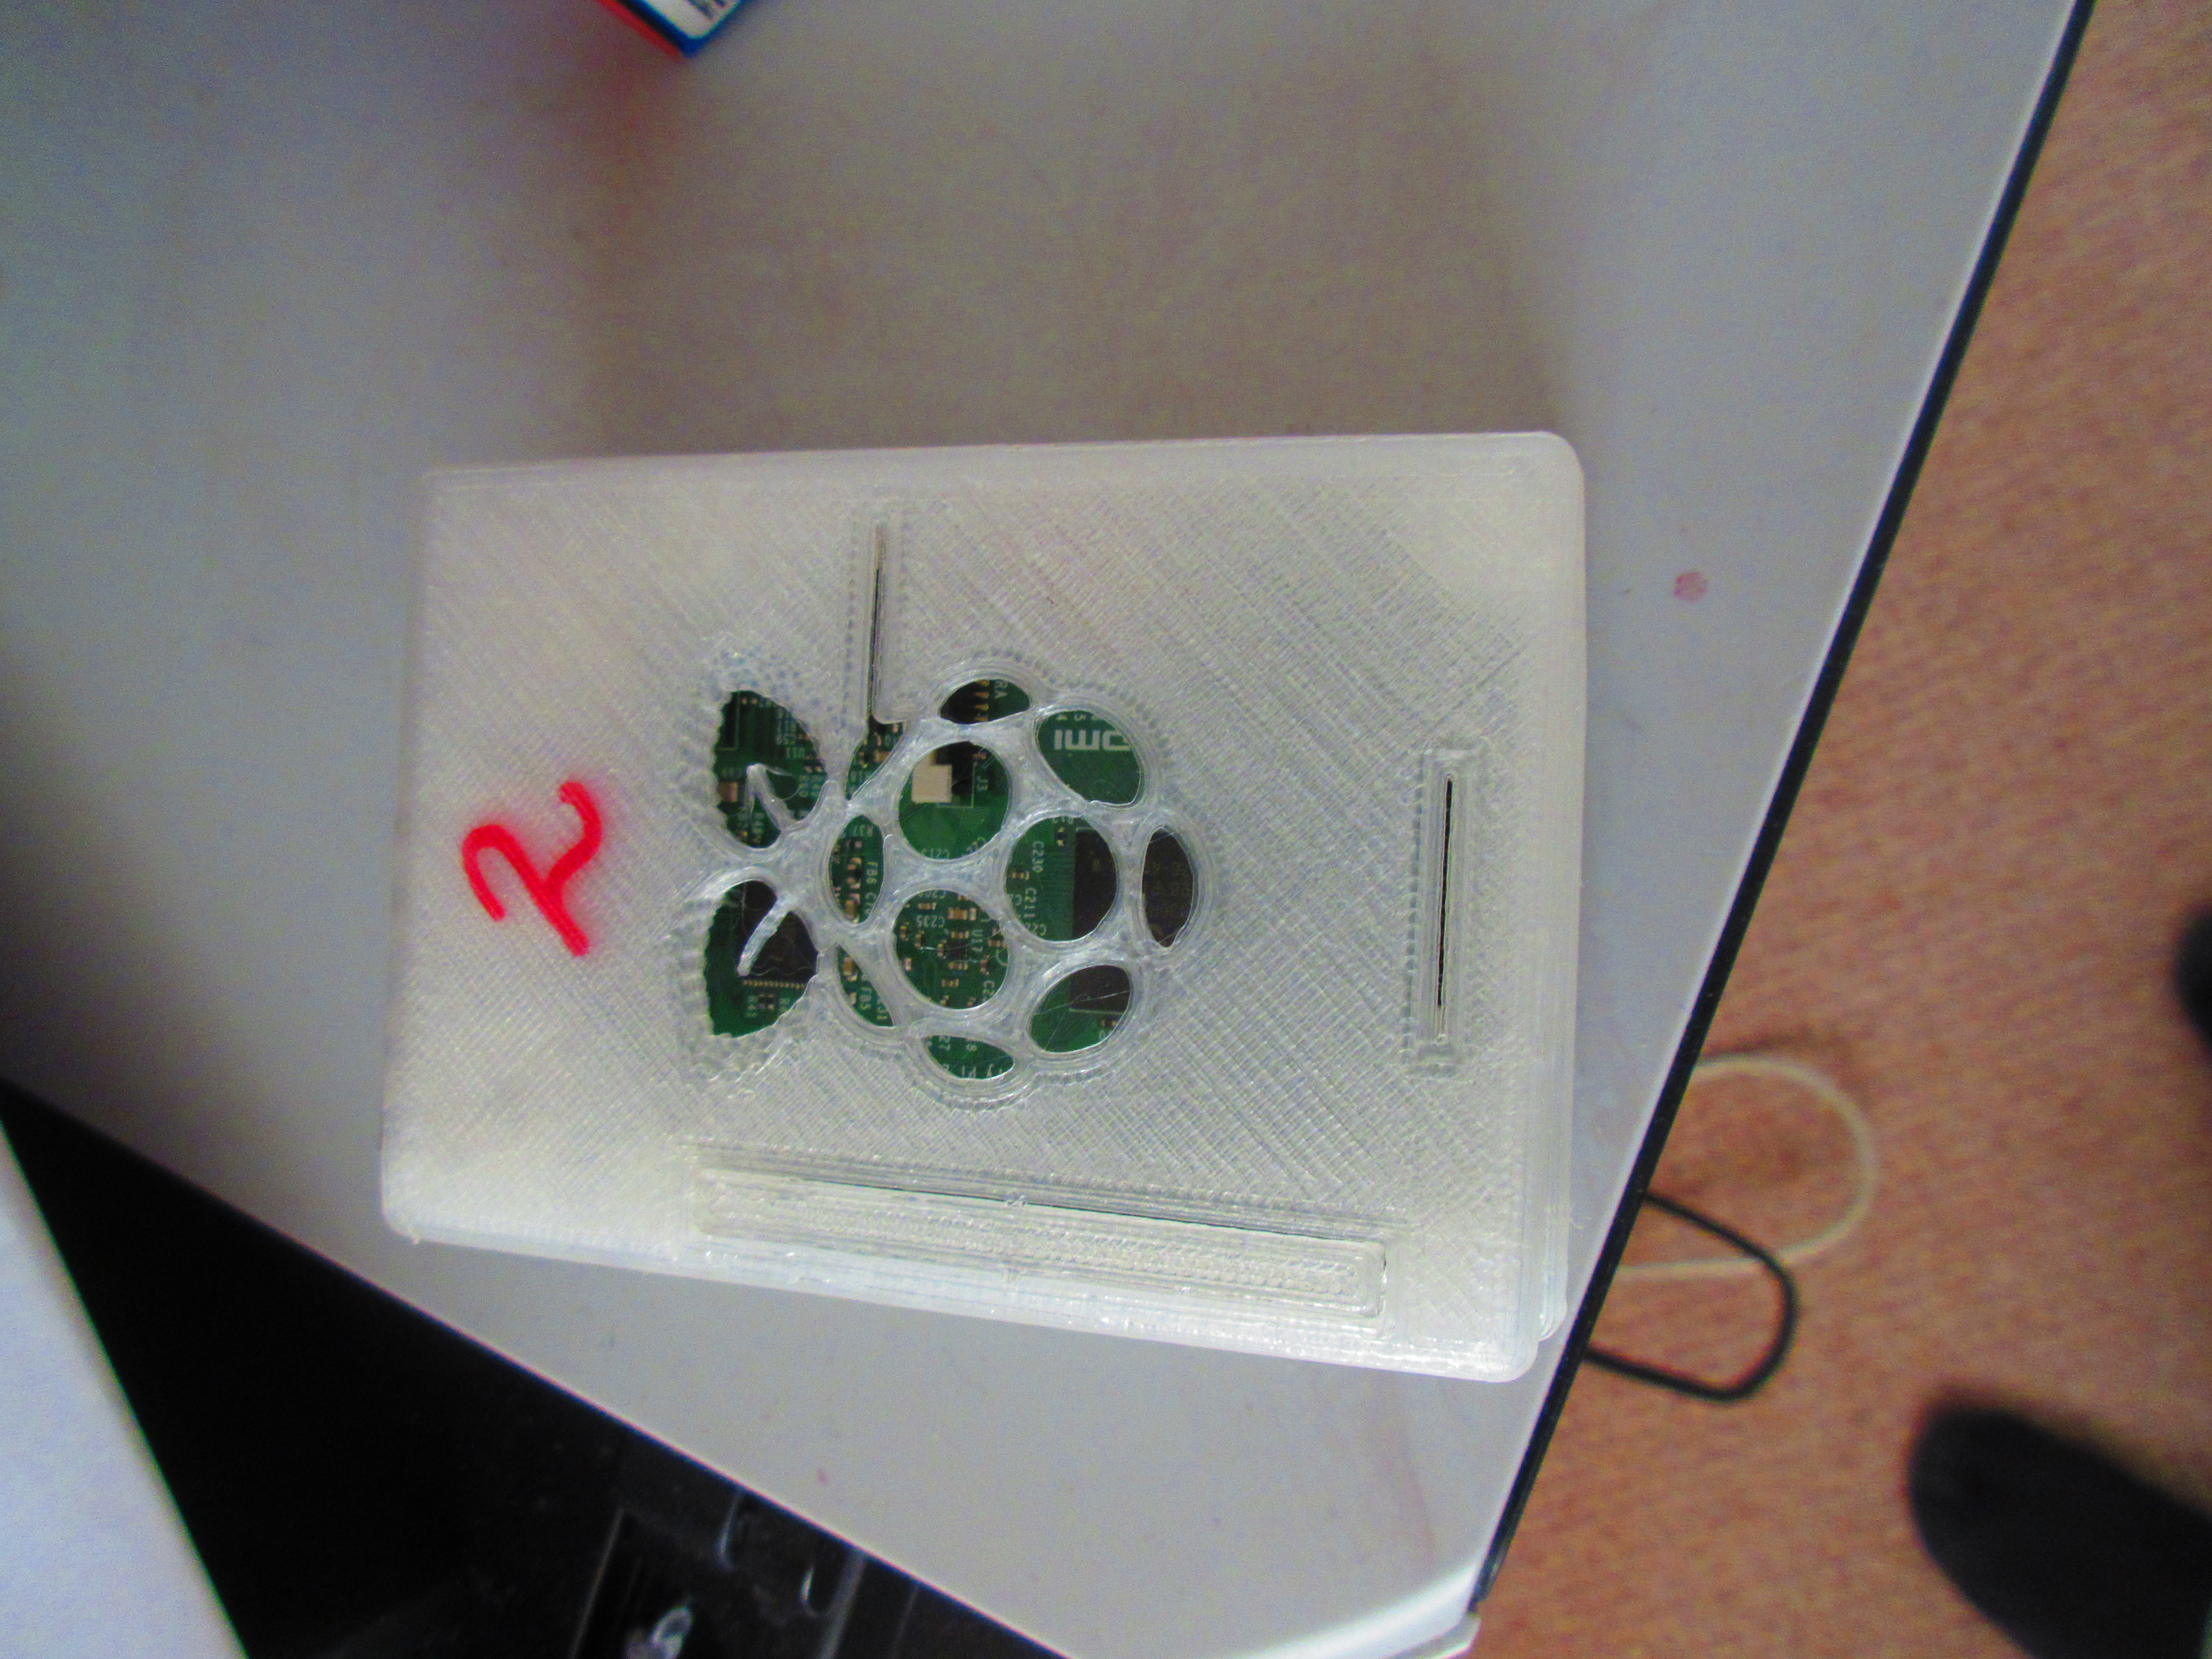
It’s title, The ‘ WILDCARD ‘ Gro-Bot Organeec. is for when it is Exhibited as an Art Work in reality.

!!! Safety alert !!! If you decide to use a fridge.

Older fridges using environmentally harmful refrigerant gases need to be de-commissioned by a registered fitter. In the UK it is illegal to vent  harmful gases to atmosphere. Check your local laws for information regarding the scrapping of fridges.

This fridge is labeled as using R600a refrigerant which is, isobutane, an inflammable gas. It is not harmful to the atmosphere but will ignite easily.

NOTE : The dates of the posts are not the dates of publishing. In order to show the oldest post first each subsequent post has to have an earlier date.

Gro-Bot organeec 2 : Cleaned and painted ready for internal re-fit.


Good clean with bleach, then coated in white anti-rust paint = good as new ! ( except for the lack of cooling power. )

The freezer compartment door is air tight so the idea at the moment is to put the electronics inside and create cable access either through the door or through the back. This will be possible as the cooling pipes  run around the top and sides. It might also be possible to have the vent fan at the back and connected by a flexible pipe to a hole in the door.

Keep finding out snippets of info from the OPEN AG Forum, turns out plants like water temperature around 10 degrees cooler than the air temperature.Blue sky thought ! Maybe it’s possible to cool the nutrient water in the fridge freezer and collect the heat of extraction from the fridge radiator. Then feed it back into the fridge to heat the air ? If the freezer section was open to atmosphere it would have a heat source so only the section cooling the water would need sealing from the atmosphere.


Inside I have removed the temperature adjustment sensor from the actuator so as not to compromise the, what I assume is part of, the sealed system.That leaves a useful space which housed the lamp, ( It could be used to mount the camera, and other sensors ), a switch actuated by the door, and access to the outside for cabling. There is also the drain hole which can be used for access. The original container for the lower part of the fridge was missing so this is one that I kept from the fridge that was taken. It is smaller than the original so if I find a larger one then I will use that.

Gro-Bot Organeec 3 : Sensors and Actuators


In order to control how a closed system works you need to sense chosen changes in the system and modify those changes to your requirements. Sensors and actuators provide that control coupled with computer applications connecting the two together according to predetermined rules. Here are some of the practical goodies, Temperature / Humidity sensor, light sensor, Ph sensor, Base shield, for the attachment of actuators to the microprocessor control, grove connectors and a small prototyping board. until the system is working I’m holding fire on getting the Co2 sensor as it’s quite expensive. Could be that the v2 version of the Gro-bot has a superior sensor ???


Proposed power supply. If not beefy enough will add another !!


Gro-Bot Organeec 4 : Getting a fan

Finally decided that it would be OK to put the circulation fan in the door of the Freezer compartment. As you will notice this required slicing a chunk off the shelf that is part of the door to allow the louvres to rotate open. I also removed the refrigeration pipes now that I know that venting the coolant in this system will not harm the environment.

Below you can see the inside of the freezer compartment showing the rear of the circulation fan and the air intake / cable duct opening at the back of the compartment. I’ve also decided to go ahead with housing all of the electronics including the air heater inside the freezer compartment so if this proves too small for whatever reason then another hole can easily be made now that the refrigeration system has been removed.

Gro-Bot Organeec 5 : Extra Arduino bit

Above is a pic of several Grove connectors. As I have decided to create my own expansion board using veroboard I will need to bend the outer two pins in order to solder the Grove connectors to the board as the pin pitch of the connectors is not standard.


In the picture below you can see the extra nine connectors mounted on the veroboard.


The above picture shows the board with the jumper wires and Arduino connections.

Below is a close-up of through pins attached to a piece of veroboard used to connect to the Arduino.


Gro-Bot Organeec 6 : Heat and Sight

I decided to go for this 1200W, two setting, £5.00 hair dryer, from UK WalMart / Asda, to act as the air heater for the Gro-Bot it comes with a thermal cutout so it should cut out before melting. It’s going to be housed in the freezer compartment of the fridge so will not be affected by the humidity levels in the grow chamber.

Below you can just see the thermal cutouts in this close-up of the air intake of the dryer as well as the heater coils.

In the image below you can see the original cover for the fridge light and temperature control. The bit sticking out on the right is a switch for the light which is actuated when the door is opened and shut thus switching the light on and off.This will be connected as the door open/shut sensor.As you also see I have mounted a USB camera in the space which used to house the temperature control switch. It is a Playstation 3 USB camera costing £2.00 at the local games exchange shop. I have conected this to the version 2 software and it functions OK some of the parameters will need tweeking to get the best image though.

Gro-Bot Organeec 7 : Putting the pieces inside the box

Putting the bits into the box, that is the question…. a bit of trial and error … The air stone is a cylindrical one not circular not sure what difference it will make, it’s air pump is outside at the back and feeds up through the drain hole. The lack box visible on the shelf is the water circulation pump, the air circulation fan is an old 12 volt car dashboard mounted 2 speed with a rubber suction mount, the camera unit is there as is the LED lighting panel mounted on the underneath of the freezer compartment. Inside the freezer compartment are the beginnings of the box to house the electronics with the hair dryer on top.

Below is the exterior view, looking down, of the back of the Gro-Bot. ere you can see the mains extension lead to which the mains devices are connected. I have used an extra individual 12v relay connected to each of the mains devices switching the live feed. Each of these is connected separately to the relay board in order to further reduce the possibility of mains shorting inside the Gro-Bot.

Gro-Bot Organeec 8 : Into the MISTS OF TIME !


How to get the nutrient solution to the roots of the growing plants ? I’ve decided to try a hybrid approach where :

  1. The nutrient is pumped from the container and drip fed to the plant roots and returning back to the container.
  2. At the same time the container will be filled with mist from the humidifier in order to keep the roots from drying out and possibly to encourage the dripping nutrient to cover most of the growing root system.

That’s why this BIg Baby was purchased, half price at £15.00. Available in drug stores and baby product suppliers here in England being used to keep the centrally heated bedrooms of babies at the optimum humidity levels for the baby to grow / sleep in.

The image below shows the base of the humidifier with the piezo ceramic ultrasonic generator in the centre of the metal ring. This is where the solution is vibrated and separates into 200 nm – 1500 nm sized particles. which the rise up the central tube and will be guided through a tube into the gro chamber.


Gro-Bot Organeec 9 : Window into the BRAIN


Finally decided that access to the BRAIN wiring in case of a fault or re-design would be needed without opening the door and carefully performed a fridge brain lobotomy using that piece of trusty specialized equipment the unmounted metal saw blade. The saw blade cut through the insulating outer layer with ease and slowed down only when the refrigerant circulation tubes were encountered. Now it is time to tidy the wiring, insert the arduino, relay board and the Raspberry Pi2 Brain. After that building a, nutrient module seems the best way to go as there isn’t room to mount the humidifier on or inside the fridge. By the side or on top ? Next model might be better in an upright fridge/ freezer then the fridge section can house the, electronics and nutrient modules, and the freezer section the growing section.